Embedding Facebook videos

Facebook has been lauded as a new mainstream media outlet. If you find a Facebook video you’d like to share with your class, you can embed it into your Blackboard course site so your students don’t have to visit Facebook to view it.

A. Getting the embed code from Facebook

1. Click the down arrow menu in the upper right of the Facebook post and choose “</> Embed.”

Note: If Embed is not an option, click on the “video” or “live video” link at the top of the post to open a new page then try again. 

2. Determine if you want to include the entire post or just the video.  If you want to include the entire post, check the “Include full post” box in the upper right.

3. Click into the box starting with “<iframe>” to select all the text. Use Ctrl-C (Command-C on Mac) or right-click and choose “Copy.”

B. Adding the code to your course site

1. Open a content area go to the “Build Content” menu. Select the “Item” type.

2. Enter a name for the video.

3. In the Text box, click on the “HTML” button on the third row of the toolbar.

Note: If you only see one row of toolbar icons, click the “two down arrows” icon on the right side of the toolbar.

4. Paste the code using Ctrl-V (Command-V on Mac) or right-click “Paste.”

5. Submit the page.

That’s it! Your students will now be able to watch the video right from Blackboard.

Disabling IE Compatibility Mode

Microsoft’s Internet Explorer browser, included in Windows XP, Vista, 7, and 8, does not work properly with Blackboard if “Compatibility Mode” is enabled. When this feature is enabled you will see a message “Module information is temporarily unavailable. Please reload the page.”

We strongly recommend accessing Blackboard using either Mozilla Firefox or Google Chrome, but if you only have access to Internet Explorer and cannot install new software, the following instructions will allow you to access Blackboard using IE.

1. Click on the settings icon (gear) in the upper right corner of your Internet Explorer window and select “Compatibility View settings.”gif5

2. In the window that opens, find “knowledge.udmercy.edu” and/or “udmercy.edu” in the list, highlight the item, and click Remove. Make sure no sites ending in ”udmercy.edu” appear on the list. When you’re done, click “Close” and the page will refresh.

gif4

That’s it! Your My Courses list should have loaded when you closed the Compatibility View Settings window.

Journals, Blogs, Discussion, Wikis … What’s the difference? (And which to use when)

Blackboard’s suite of asynchronous social tools — Journals, Blogs, Discussion, and Wikis — provide students with different methods of sharing and recording their thoughts. Each tool functions very differently, and it’s important you match the right tool to the right assignment.


Journals

Journal posts are generally only visible to the student who made them (and to the course faculty).

journal

Journals are good for self-reflection exercises, stream of consciousness free-writing, and personal activity logs.


Blogs

Blog posts are generally made by one student (who may be the representative of a group, depending on the assignment), then read by the rest of the class. The readership may then comment on the blog post, but blogs are generally not designed for more back-and-forth interaction.

blog

In his Chronicle of Higher Education article A Better Blogging Assignment, Mark Sample proposes the following assignment:

Each student will contribute to the weekly class blog, posting an approximately 200-300 word response to the week’s readings. There are a number of ways to approach these open-ended posts: consider the reading in relation to its historical or theoretical context; write about an aspect of the day’s reading that you don’t understand, or something that jars you; formulate an insightful question or two about the reading and then attempt to answer your own questions; or respond to another student’s post, building upon it, disagreeing with it, or re-thinking it.


Discussion

Online discussion is the most interactive of these tools. In an online discussion, students post, then read and reply other students’ posts.

discussion

Discussion is a good place to get students interacting. While the name suggests discussion assignments mimic in-class discussion, discussion board posts are really more like mini-essays (how mini depending on the parameters you set). Students can then provide feedback (reply), both to the initial post and to other replies. Discussion is an excellent tool for getting students interacting with each other, as opposed to a blog, where the communication is largely one way (writer to audience, with minimal audience commentary).


Wikis

Students can use a Wiki to collaboratively create a document or set of pages. Change history is logged, so you can look back and see which students made what changes when.wiki

Wikis are an extremely versatile tool can be used at any time you want students to work together to develop a single document. A simple wiki assignment is the scavenger hunt (sometimes less thrillingly called a lit review): Students are tasked with collecting resources on a given topic — journal articles, books, web sites — then post their findings to a wiki. At the end of the project, the students will have collaboratively produced a single document with a wide array of helpful resources on your given topic.

Student groups may also use a wiki to collaboratively create learning modules modules for their peers.

Copy an Old Course into a New Course

If you’re re-using course materials from a previous term, the easiest way to get the content and activities from an old course into a new one is to copy the course. To copy a course, go into the old course (the one with the materials you want to copy), and click the PACKAGES & UTILITIES heading in the Control Panel menu.

Follow these steps to copy an old course into a new course: 

1. Under the Packages and Utilities heading, click Course Copy.

3.1


2. Make sure Copy Course Materials into an Existing Course is selected.

3. Enter the Course ID into the Destination Course ID box.

3.2


4. Select the course materials that you would like to migrate over to your new course.

5. Under the Course Files heading select the appropriate setting.

3.3

6. Click Submit.

Note: Copying your course materials may take some time, so please be patient. However, if you do see the “SUCCESSFUL COPY” message at the top of your course site but still have some missing content, contact IDS directly for help at 313-578-0580 or ids@udmercy.edu.

Create and Edit Tests

Assessment helps faculty members evaluate student understanding of course material.  Tests in particular can provide a way of measuring student performance, and enhance the overall effectiveness of your course.  The Assessment section of your Blackboard course site in the Content area allows you to create three different types of student assessment: Test, Surveys, and Assignments.

This tutorial will focus on the basics of test creation.  While tests are held in a Test Manager portion of your course site, individual tests are deployed in a Content Area and managed there.  A column associated with the test displays automatically in the course Grade Center.  Because of this, it is beneficial to review all aspects of assessment in order to obtain a complete understanding of the value this feature can provide.

See the tutorial on Deploying Tests and Surveys for further information on test creation.

Note: View and grade submitted tests in the Grade Center.

Follow these steps to create a Test:

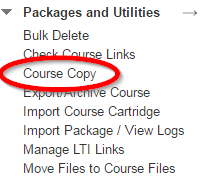
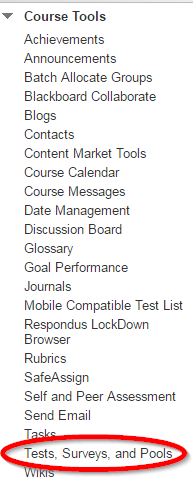
1. In the Control Panel Box, click on Course Tools. Then click the Tests, Surveys, and Pools link.
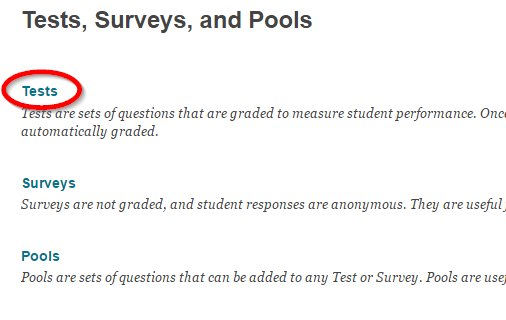
2.1

2. Click Tests.

2.2

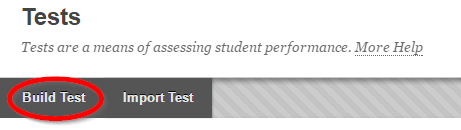
3. Click Build Test.  

2.3
4. Enter a name for your test, and add a description and instructions in the boxes provided on the page that follows.

  • If you have already created your test, please see the tutorial on “Deploying the Test” for more information.

1.2


5. Click Submit. You are now ready to create questions for the test!


Follow these steps to create Questions for your test:

1. Navigate to the Test Canvas screen. You will automatically see this once you have clicked the Submit button after creating a test or you can navigate to it using the instructions in the section on Editing an Existing Test below.

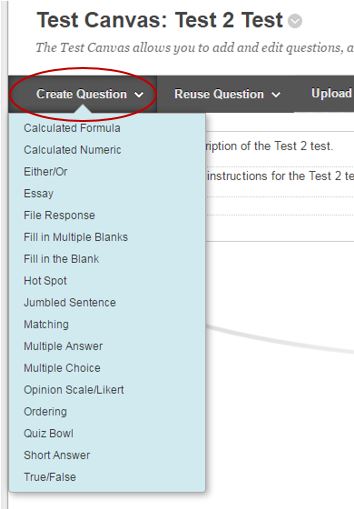
2. Select a question type from the Create Question drop-down menu.


2


3. Type your question text and add the answer selections (if needed) to create a question.

4. Select the appropriate question options and add question feedback if you would like to use that feature.

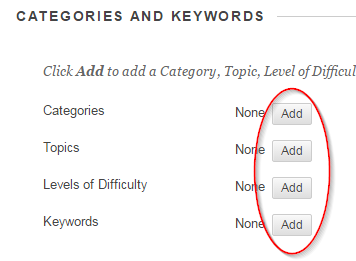
5. If you are planning on reusing the question in another test and want a way to reference it later you can add a category, topic, or keyword. You can also mark the level of difficulty. Click Add, type in the category, topic, level or keyword, and click Submit to do this.

7


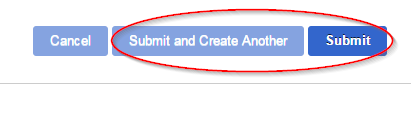
6. If you would like to create another question of a similar type click Submit and Create Another. When you are completely finished  with that type of question click Submit.

8


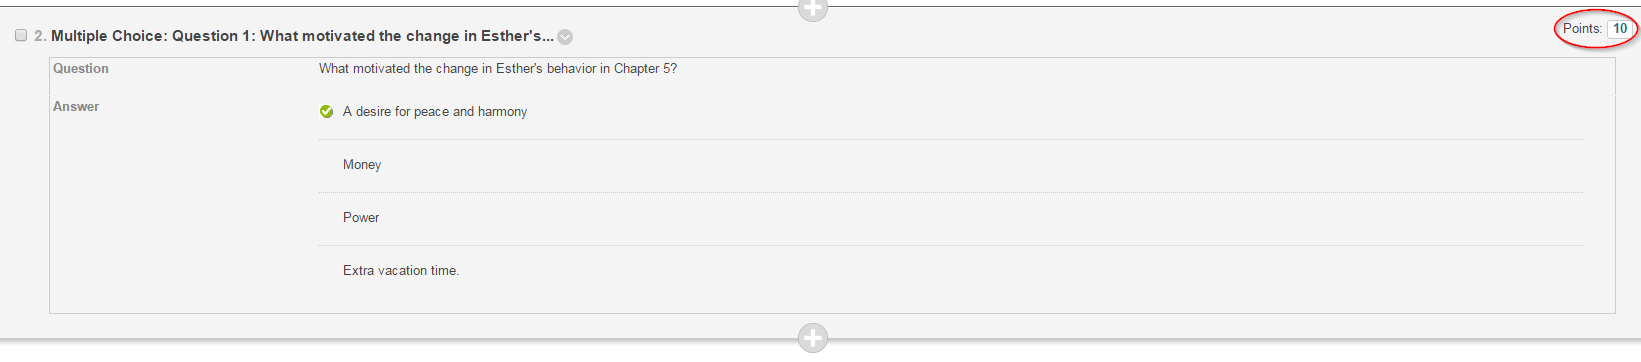
7. On the Test Canvas screen, type in the point value for the question.

9

8. Repeat steps 2 through 7 until you have finished adding questions.


How to Edit an Existing Test

1. In the Control Panel Box, Click on Course Tools. Then click on the Tests, Surveys, and Pools link.

2. Click on the Tests link.

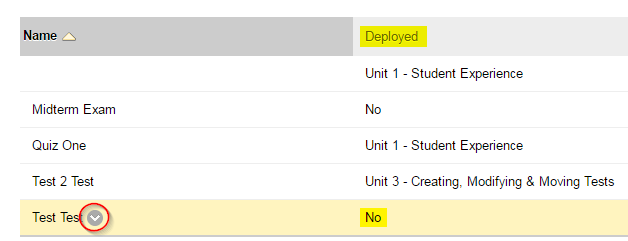
3. Click the down arrow next to the test you’d like to modify. You need to hover over the name of the test for this down arrow to appear.
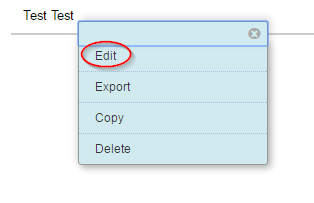
10


4. Click Edit.

11


NOTE: Do not attempt to make question changes to the test if it is already deployed.

Test Manager

Tests created in Blackboard are held in a section of the course called the Test Manager (accessed through the Course Tools section of the Control Panel).  When a Test or Survey is deleted from a Content Area, it is still available for future editing, deployment, export, or removal from the system within the Test Manager.

NOTE:  Blackboard recommends that an Assessment first be made Unavailable before considering deleting it from a Content Area.

For more information on creating and using tests, surveys, and pools, please see the corresponding tutorials for each topic.

Page 3 of 3012345...102030...