Adding SCORM quizzes to Camtasia lectures
Did you know you can add quizzes to your Camtasia Studio recordings? When using the SCORM format for uploading your presentation to Blackboard, students’ results will even be added to the Grade Center automatically. You can choose to also receive the results via email in case you want to collect results outside of a Blackboard course.
To get started, open an existing Camtasia Studio project (.camproj) or create a new project by opening a Camtasia Recording file (.trec).
Opening the Quizzing panel
To open the Quizzing panel, either click on the Quizzing button on the toolbar or select the Tools->Quizzes menu item. If the Quizzing button doesn’t appear on your toolbar, click on More, then on Quizzing.
Now, move the playhead to the spot in the timeline where you want a quiz to appear. The presentation will pause while the quiz is running so you can place it anywhere without worrying about students missing part of the presentation.

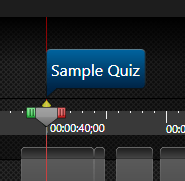
In this example, the playhead is placed at 40 seconds into the presentation. We’re going to insert the quiz here.
Now that we’ve selected the spot we want a quiz to appear, we’ll add a quiz to the timeline. Start by clicking the “Add quiz” button in the upper left corner of the Quizzing panel.

You’ll see a block appear in the timeline representing the new quiz. If you want to move the starting point of the quiz, just drag the block left or right. To edit the quiz options, double-click the quiz block.
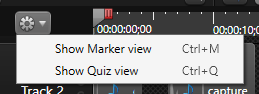
If you’ve created a quiz but don’t see the Quiz blocks above the timeline, look to the left of the timeline for the view options button and select Show Quiz view.
Quiz Options
Quiz name – This name displays in the Camtasia Quiz view block. It does not appear during the presentation.
Score Quiz – If enabled, users will see their score during the quiz. If disabled, scores will only appear in the Grade Center or My Grades.
Viewer can see answers after submitting – Disable this to prevent the correct answer from showing after the quiz.
Adding and Editing Questions
Your first question is added for you. To add additional questions, click the Add Question button. To select a question to edit, click the question text in the list of Questions.
Question Options
There are four types of questions available in a Camtasia quiz.
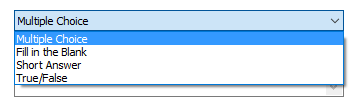
Multiple Choice – One correct answer. One to many options.
Fill in the Blank* – Multiple correct answers (exact match). Student types an answer.
Short Answer* – Ungraded. Student types an answer.
True/False – One correct answer. True/False options.
*Fill in the Blank and Short Answer responses are not copied to Blackboard. You will be able to see if a student answered a Fill in the Blank question correctly, or if they replied to the Short Answer question, but you will not be able to see the responses. If you choose to receive email reports when publishing your Camtasia presentation the daily reports will contain the complete details.
Previewing the Quiz
Unfortunately, the built-in preview quiz feature does work correctly in Camtasia 8.6, the version used at the Instructional Design Studio. However, you will have a chance to preview your presentation including the quiz during the publishing step.
Publishing the Quiz
Once you’ve created all your quizzes, and entered all the questions and answers (and made sure to select the correct answers) you’re ready to publish.
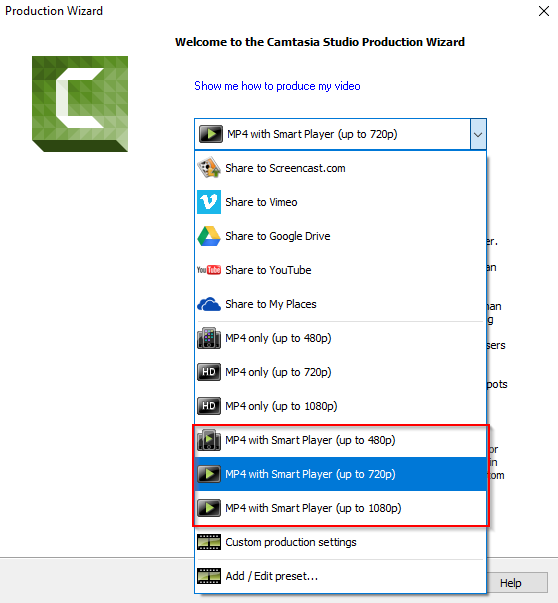
To publish, select the File->Produce and Share menu item. Select one of the three Smart Player formats (720p recommended, 480p will be product a smaller video frame and file size, 1080p a larger frame and file size.)
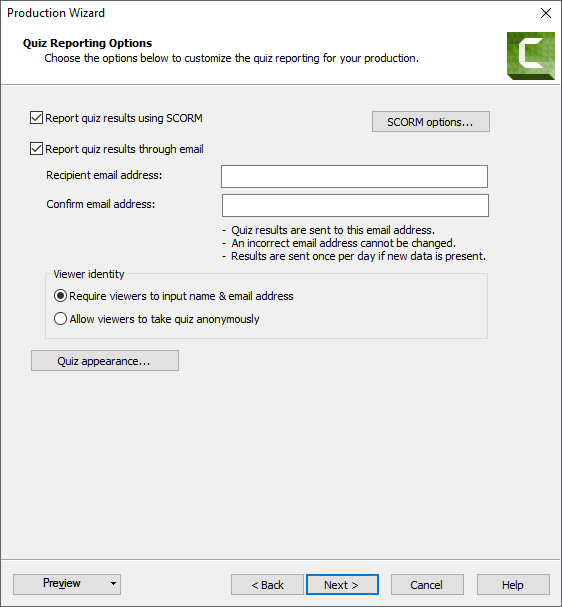
Click the Next button. On the Quiz Reporting Options screen, choose whether to include quiz scores in the Blackboard Grade Center (SCORM), receive daily reports via email (required to see Fill in the Blank or Short Answer responses) or both (recommended).
If you enable email results, fill in your email address twice. Note: this email address cannot be changed without republishing. You can also decide whether to allow anonymous responses. Anonymous responses are only possible in presentations that are not uploaded to Blackboard as SCORM items. Blackboard will automatically fill in their name and email address.
SCORM Options
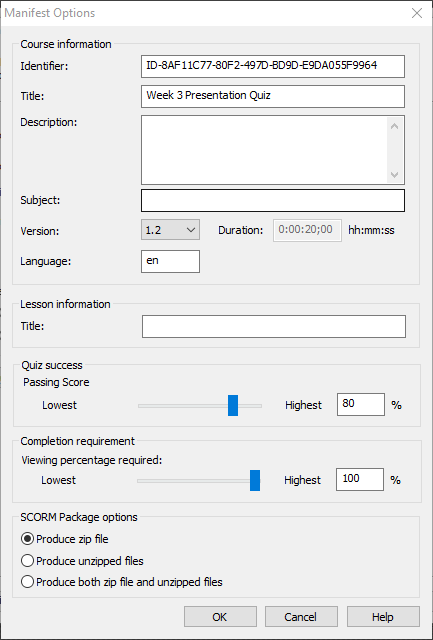
If you enable SCORM, make sure to click the “SCORM Options…” button.
Do not change the Identifier. This number is used to keep track of the quiz results.
Enter a Title. This is the name that will display in the Grade Center. You will have a chance to change this once when you upload the presentation to Blackboard.
At the bottom, be sure to select “Produce ZIP file” under SCORM Package Options.
If desired, change the score required to pass, and/or the percentage of the video that needs to be viewed to count as complete.
None of the other fields are required. When finished, click OK to continue.
You will return to the Production Wizard screen.
The “Quiz appearance…” button is entirely optional. You can change the labels on various buttons inside the quiz or disable “Allow replay last section.” This option enables or disables a prompt to replay the last section of the presentation (sections are considered everything between two quizzes.)
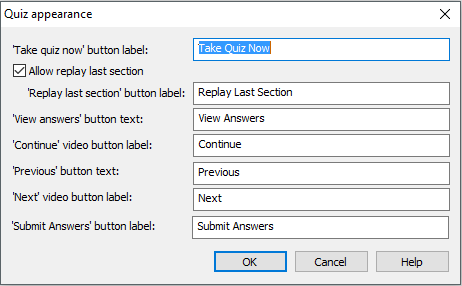
If you opened the Quiz Appearance window, click OK or Cancel to return to the Quiz Reporting Options screen.
Now that you’ve set your SCORM options and/or entered your email address, click Next.
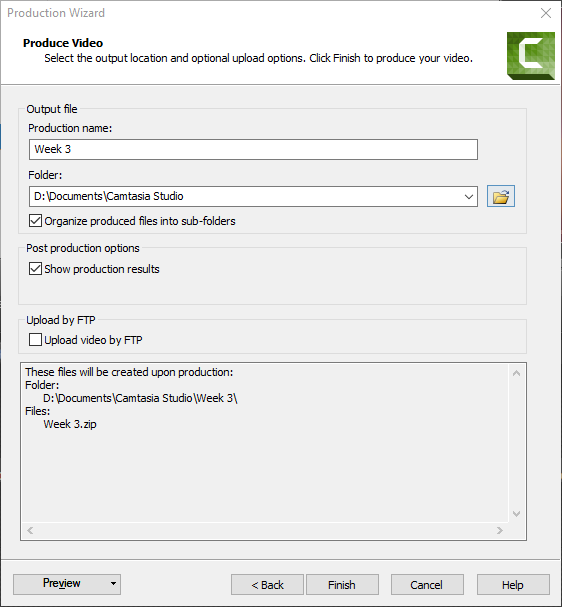
On the Produce Video screen, enter a Production Name if you have not already saved the file. This will be the filename as well as the folder where the presentation is stored inside My Documents->Camtasia Studio. If you would like to store the published presentation somewhere else, change the Folder by clicking the folder icon to the right. Be sure to remember where you saved the presentation.
You’re now ready to preview and/or publish your presentation and quiz. These steps will take quite some time for longer presentations.
If you’d like to preview the presentation and your quiz, click Preview and choose Preview Current Settings. After the preview is rendered, the presentation will open. On most machines the video will not play, but you can manually move the timeline marker to the quiz dot to preview your quiz.
When you’re satisfied with the preview, or if you don’t wish to preview, click Finish to publish your presentation.
Uploading to Blackboard
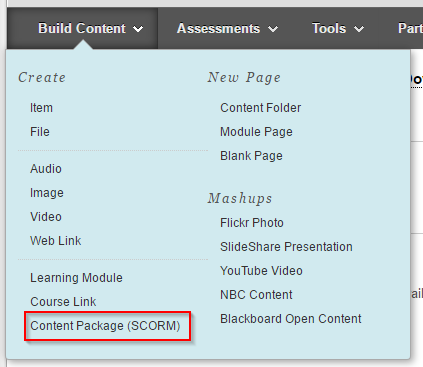
First, open the content folder in which you want to place the presentation. Then, select Build Content->Content Package (SCORM).
Attach the SCORM ZIP archive by clicking Browse My Computer, selecting the file, and Clicking Open. The default location is My Documents->Camtasia Studio->Presenation Name.
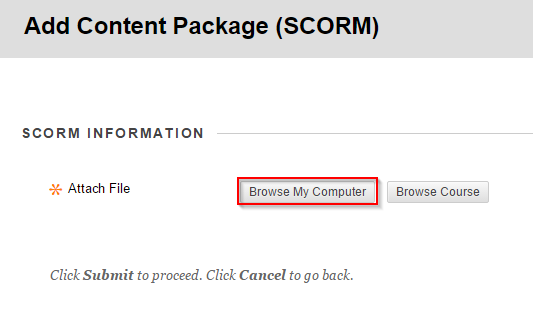
Click Submit to upload your presentation.
SCORM Information, Availability and Grading Options
At the top of the page, enter the name for the presentation link in the Content Area, and any description text you wish to appear underneath.
In the SCORM Availability section, set “Make SCORM Available” to Yes.
Choose the number of attempts allowed, any date restrictions, and if you want to track the number of views.

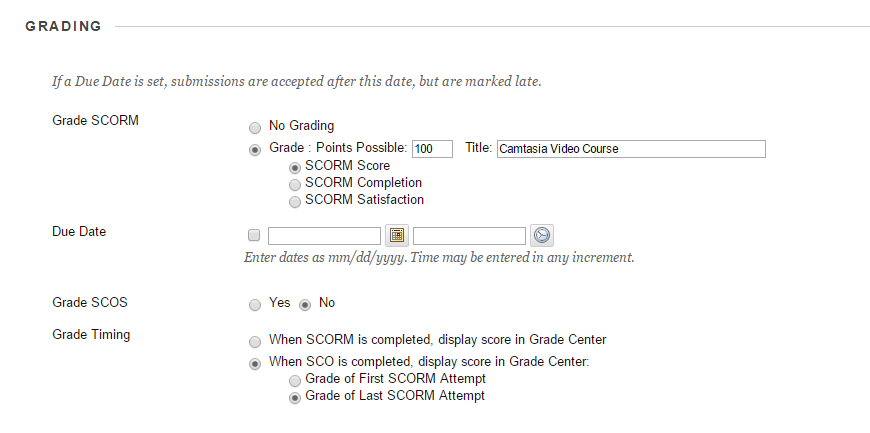
In the Grading section, decide if you want to store the results in the Grade Center. Note: this is the last chance you have to change the Grade Center Column name. This is the “Title” option. Optionally enter a due date to mark students late.
Grade SCOS should remain on “No” for Camtasia SCORM presentations.
Grade Timing should not need to be changed unless you want the Grade Center to only show the results of the students’ first attempt rather than the most recent.
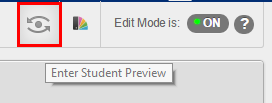
That’s the last step! Click Submit and verify that the presentation appears correctly. Remember you can use the Student Preview option in Blackboard to try taking the quiz yourself.
Quiz results will appear in the Grade Center, and if you selected the email option you’ll receive a daily report with spreadsheet attachments.