Record audio with Audacity
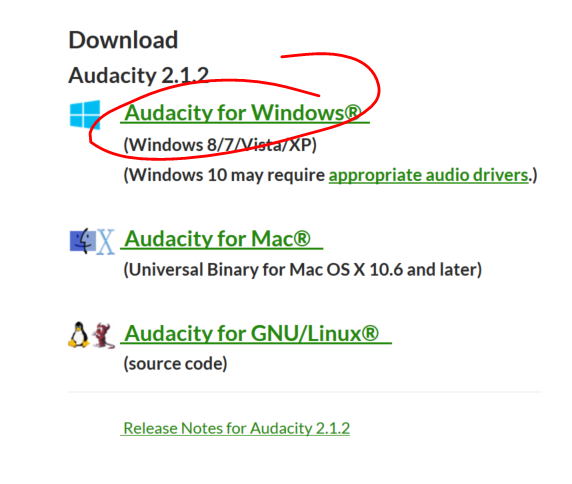
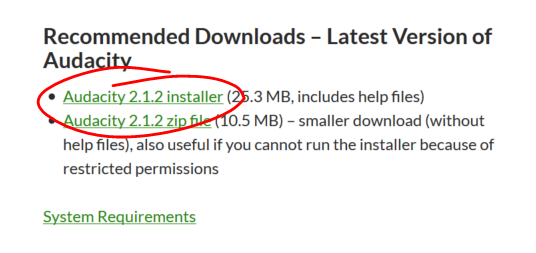
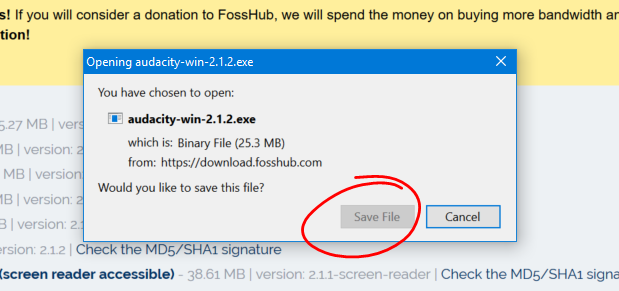
Audacity is free, open source software that makes it simple to record and edit audio on your computer. This tutorial will walk you though the basics of recording and editing with Audacity. If you need to install Audacity, you might want to start with this walkthrough.
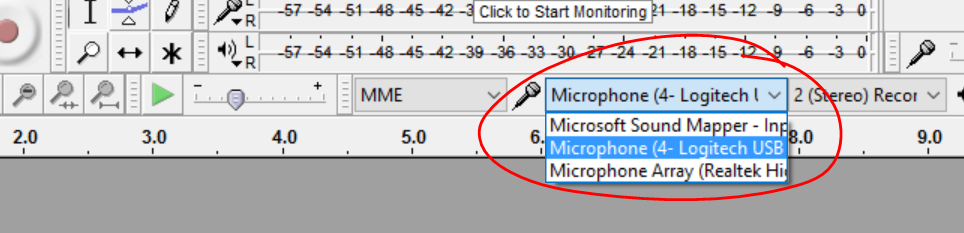
1. Make sure the right microphone is selected
Before you start recording, you’ll want to make sure the right microphone is selected. If you’re using a USB headset, we recommend plugging it in before launching Audacity (as this will generally result in the right microphone being selected).
2. Check your recording volume
Next, you’ll want to check the recording volume. Click the line right of the microphone icon (where it reads “Click to Start Monitoring”) and speak into your microphone at the volume you’ll be speaking when doing your recording. A pair of green bars (or a single bar, if you’re recording in Mono) will appear in this space, indicating the recording volume. If the volume is too high, you’ll the bars will fill this space completely, turning yellow, then red at the right side of the space. Adjust the microphone slider to the right of the monitor space so that the green bars are as long as possible without hitting the yellow or red.

3. Record your audio
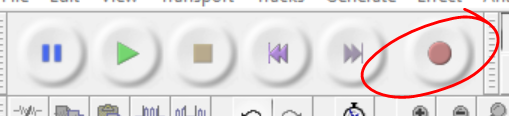
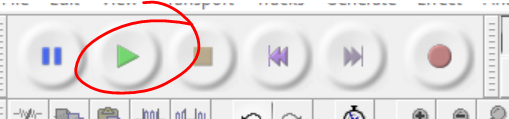
Press the RECORD button to start recording.
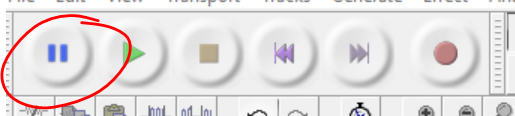
If you need to pause your recording — to cough, answer the phone, etc — press the PAUSE button. Press PAUSE again to continue recording.
Press STOP when you’re finished recording.
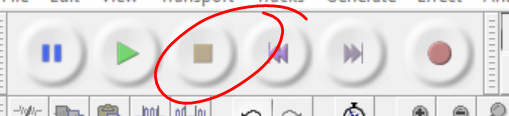
Press PLAY to review your recording.
4. Edit if necessary
Need to cut something out of the audio — a cough perhaps? Click and drag on the audio waveform to highlight the section you wish to remove. Hit play to make sure you’ve captured the right section. Use the + or – magnifying glass icons to zoom in or out as necessary when making your selection. Hit the delete key on your keyboard to remove that audio.
 Need to add to your recording? Use the horizontal scrollbar at the bottom of the page to scroll to the right until you see in the place you left off in the waveform. Click the waveform space to drop the play/record cursor in the point you wish to start recording, then hit record to continue recording. Press stop when you are done adding to your recording.
5. Export as MP3
Finally, you can save your recording as an AUDACITY file for editing and further modification by clicking FILE then choosing SAVE PROJECT.
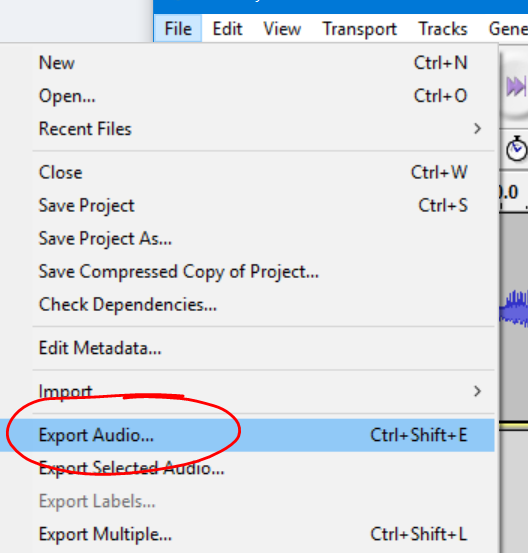
To save your recording as a WAV or (preferably) MP3 file for sharing, click FILE, then choose EXPORT AUDIO.
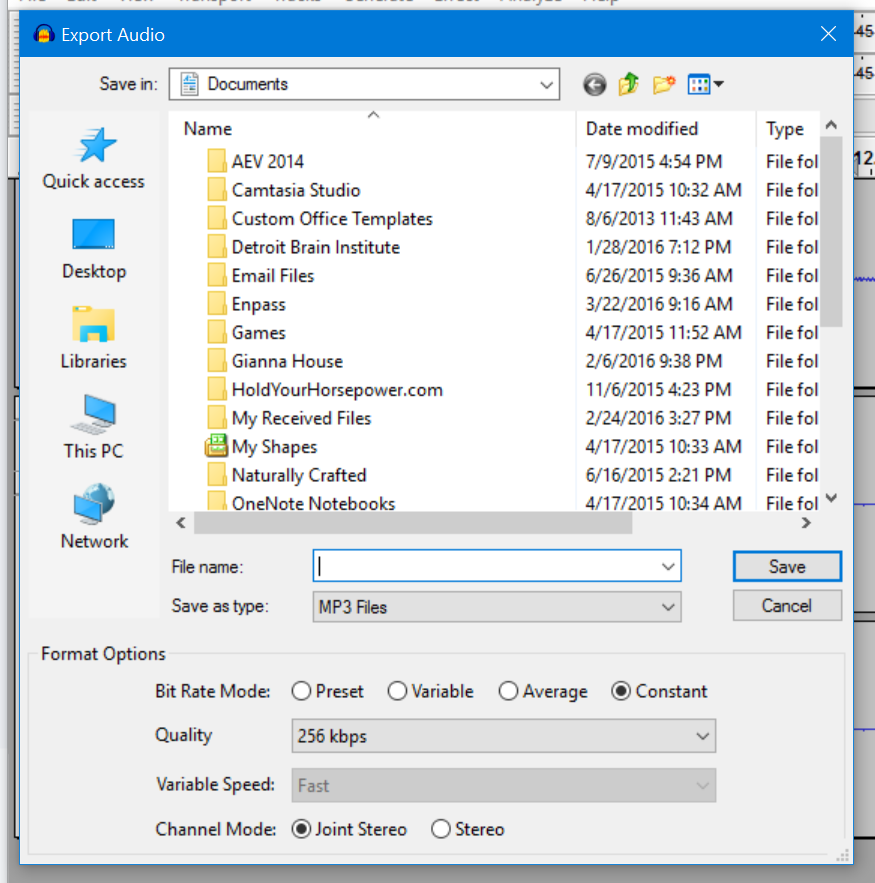
Under SAVE AS TYPE choose MP3 (or WAV if you did not download and installed the LAME MP3 library). The default 256 kbp quality should be fine. Choosing a lower bitrate wtill result in lower sound quality and a smaller file. Choosing a higher bit rate will result in a larger file with greater audio fidelity.
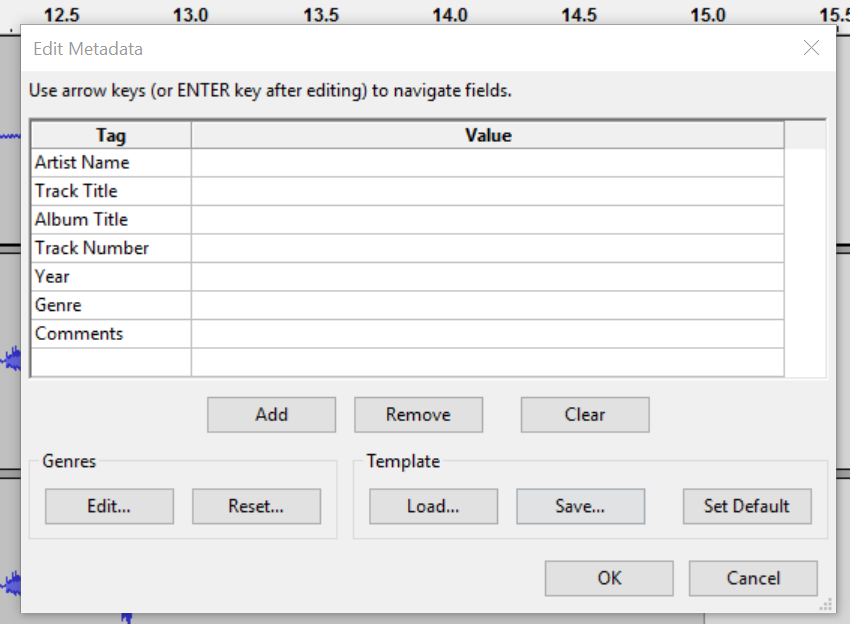
 When saving as an MP3, you will be given the option to enter metadata for the file. Depending on how your audience listens to the file, this information may be displayed in the player. Enter whatever metadata you feel is appropriate, then click OK to finish the export process.