Author Archives: Anthony Cressey

Taking a test in Lockdown Browser

What is it?

Respondus LockDown Browser provides a more secure environment for online testing. LockDown Browser itself is a separate web browser (like Internet Explorer, Firefox, or Chrome) specifically geared toward taking online tests. When a student is ready to take an online test that uses LockDown Browser, they actually launch the LockDown Browser from their desktop instead of launching their usual browser of choice. LockDown Browser then fills the student’s screen (including any additional displays), open to Detroit Mercy’s Knowledge login page. While LockDown Browser is running, students are unable to use their computer for anything other than taking the test. They cannot surf other web sites, use chat services, screen capture / record, look at PDFs, PowerPoint decks, or Word files, etc.

Download and install LockDown Browser

The Detroit Mercy LockDown Browser can be downloaded from the following URL:

http://www.respondus.com/lockdown/download.php?id=945835138


Once you’ve installed LockDown Browser and are ready to take your exam, click the desktop icon.

lockdownbrowser1

LockDown browser acts just like any other browser, accept it’s directly linked to Detroit Mercy’s Blackboard. When prompted; Do you want to allow this app to make changes to this device, select “Yes” to continue.

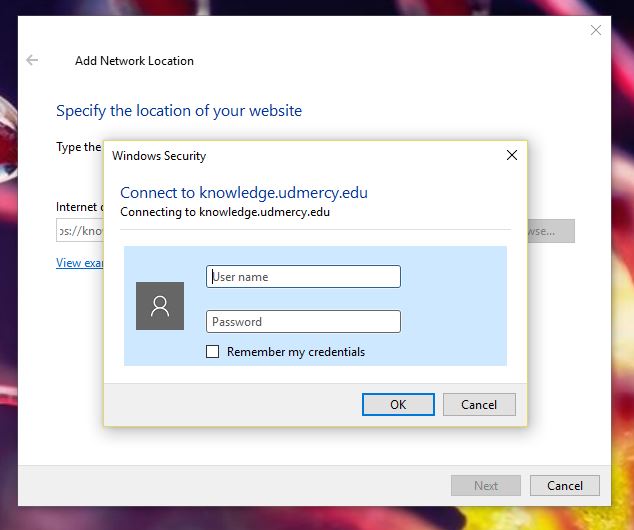
Sign in to Blackboard as you normally would using your Titan Connect credentials

lockdownbrowser2

On the My Courses page, navigate to the course you are taking the LockDown Browser test in.

lockdownbrowser3

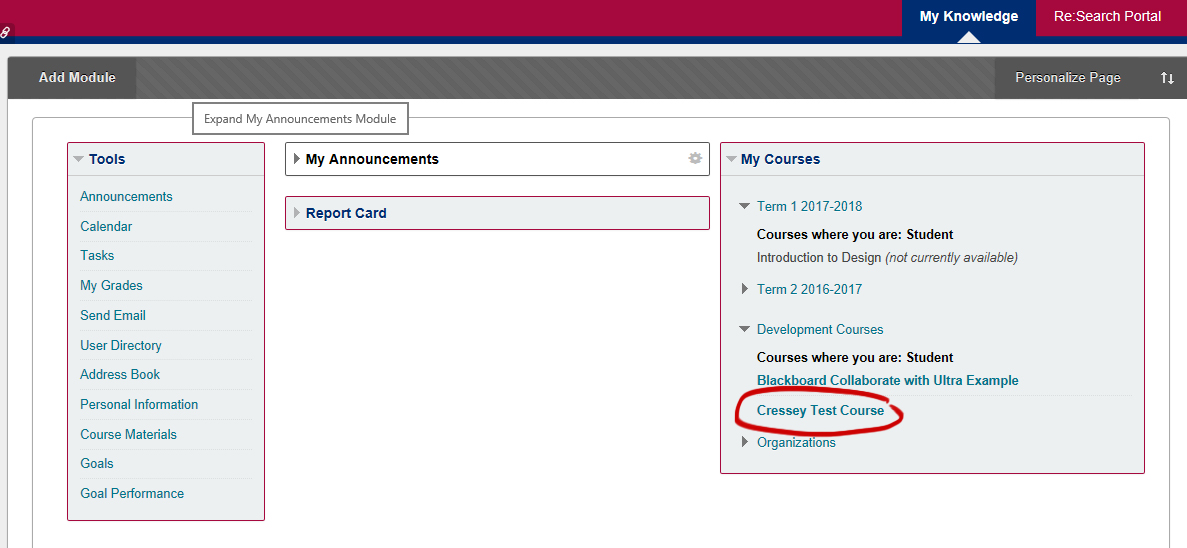
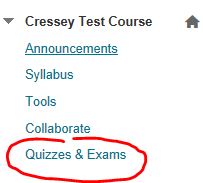
Then navigate to where the quiz or exam is located in your course. This will most likely vary from course to course.

lockdownbrowser4

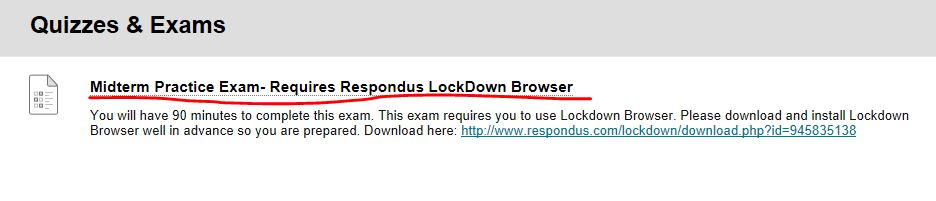
Find the test, and click on the title.

lockdownbrowser5

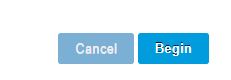
Be sure you are ready to take the exam. Prepare all necessary materials (if allowed), then click the “Begin” button.

lockdownbrowser6

NOTE: If the title says “Requires Respondus LockDown Browser” you must take the test through LockDown Browser. You will not be able to take the Exam in any other browser. Some professors may require a password in order to take their test. If this is the case, you will be prompted to enter the password just before taking the exam.


Creating an Assignment

In this tutorial, we will walk through the process of creating an assignment in your Blackboard course. To start, first go into a content area where you wish to make an assignment available to your students. Mouse over the “Assessments” button toward the top of the body of the page and select “Assignment”.

creating_an_assignment1

Next, type in the assignment name along with any instructions you may have for your students. Adding a due date into the set of instructions helps to eliminate any confusion as to when an assignment is due since it’s part of the instructions, but of course is up to you.

creating_an_assignment2

If you have any files to attach for your students to review or work off of, you may add them by clicking on the “Browse My Computer” button. Or if’ you’ve already uploaded it to your course, click “Browse Course”

creating_an_assignment3

Next you have the option to add a due date.

creating_an_assignment4

Make sure to put in a point value for this assignment. This is a mandatory field.

creating_an_assignment5

If you are using a rubric to grade your assignment, you may add it by clicking on the “Add Rubric” button. If you would like to learn how to utilize Rubrics in Blackboard, please check out this tutorial on Rubrics in Blackboard.

creating_an_assignment6

From here, there’s additional options in the next 3 categories. You can view what’s in each category by clicking the title to expand the options. Generally speaking, the default settings are usually set appropriately, but you may wish to change some of them depending on your needs.

creating_an_assignment7

Under Submission Details, you can leave the default assignment type as individual submission, or change the assignment to a group submission, and also allow more than one attempt. NOTE: Allowing multiple submissions adds additional attempts in the grade center that will need your attention. More on the Plagiarism checker here.

creating_an_assignment8

Group Submission

When selecting the Group Submission option, you will have a choice to select the group(s) to assign the assignment to. NOTE: You will need to have groups already created in the course before you can use this feature.

group_assignment1

Next, click the group(s), then click the top arrow to move your selection over to the “Selected Items” section.

group_assignment2

Under Grading Options, you can turn on anonymous grading if you wish. You may also set the assignment to allow peer to peer grading by checking the “Enable Delegated Grading” option. creating_an_assignment9

Under Display of Grades, you can change the primary and secondary score (this can also be done in the Grade Center) from the default. You may also decide this assignment is a practice, so you may wish to uncheck the “Include in grade center grading calculations” option. Generally speaking, it’s a good idea to leave it checked as the default. You may also make the score unavailable to your students by unchecking the “show to students in my grades”. If you wish to show the statistics for the assignment to your students, check the third option.

creating_an_assignment10
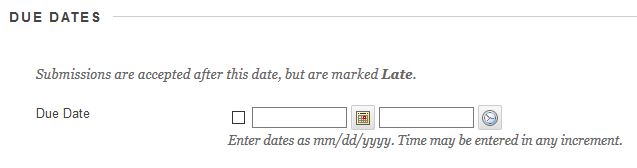
You may wish to limit when your students have access to the assignment. Maybe you are setting up your class for future weeks, or wish to grant them access for a specific time frame for that week. You may do so by selecting a date and time range, just click on the calendar and/or clock icon to set the date and time. Make sure there’s a check in the appropriate display after / display until field(s) if you wish to limit the availability. If you leave it blank, the assignment will be open until you turn it off manually. You may also track the number of views for this assignment by checking the track number of views option.

creating_an_assignment11
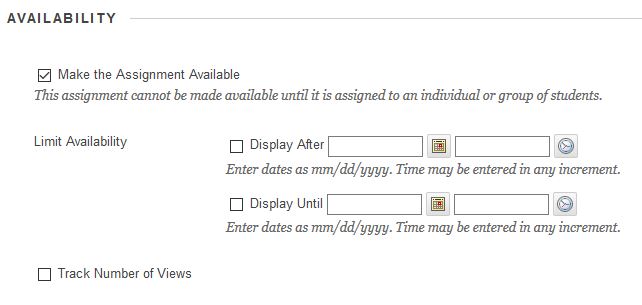
When your finished, click the submit button.

profile7

How do I print or download a test in Blackboard?

The answer is, its not very easy to do! That’s by design to help preserve the integrity of your online exams.

However, there are times when faculty may need to print a test for review, to provide paper version for a student, or any number of reasons. You may not be able to download or print a test very easily, BUT IDS CAN HELP! If a test is in Blackboard, currently you have to manually copy/paste each question or copy the whole test, getting a bunch of extra content you didn’t want or need in the process. This can be very frustrating to re-format your entire test, not to mention time-consuming.

If you contact the Instructional Design Studio by phone at 313-578-0580 or email at ids@udmercy.edu, we can pull your test out of Blackboard, and into your hands via PDF, txt, or Word file. Printing is also available for you to pick up upon request. Please allow 24 (business) hours for this process to occur, but it may take less.


Signing in to Lime Survey

Using Lime Survey to gather data can be a great resource to all University of Detroit Mercy Faculty/Staff/Administrators/Students. It’s a free, supported tool should UDM folks ever need assistance. Currently, we are working on additional tutorials to better assist folks with their Lime Survey needs. Until then, you may contact the Instructional Design Studio at: 313-578-0580 or ids@udmercy.edu to schedule an appointment to learn how to use Lime Survey.

First you will “login” to Lime Survey by going to:
https://surveys.udmercy.edu/limesurvey/admin/admin.php

NOTE: You will use the same username and password combination that you use to get into Titan Connect, Blackboard, and the Research Portal databases. The user you wish to add must have already signed into Lime Survey in order for you to add the user to your survey. If you can not find someone, have them first sign into the site to activate their Lime Survey account.

You should see a message that looks like the following:

Up next, we’ll work on creating a new survey and work through the settings.

Using web folders in Blackboard

When a web folder is set up, all of your course files can be managed from your desktop, dragging in content from multiple drives or folders and organizing it as needed. Also, files can often be edited directly in the web folder, without downloading them, editing them, and uploading them again.

The Following set of instructions were written for a computer running Windows 10 operating system. If you have a different operating system other than Windows 10, please refer to the instructions on the “Using Web Folders” page. There’s multiple sets of instructions depending on your computer’s operating system including Windows 7, Vista, Windows XP, & Mac OS.

NOTE: By setting up a web folder, you will need to link to the item in your course menu after the web folder syncs with your course. A web folder will create a direct link from the computer you are setting up the connection with, and your specific course.


To start, in the lower left corner in the search box, type in “this pc” then select the desktop app to open up the Windows “File Explorer” window.

files_library6


When the File Explorer window pops up, either right-click on a blank white area and select “Add a network location”, or click the “Add a network location” button at the top.

files_library7

The Add Network Location Wizard will open. Click “Next“. files_library8

When asked where you want to create the network location, select Choose a custom network location. Click Next files_library9

Next you will be prompted to add the network location

files_library10


To get the network location, go into the course you wish to set up a web folder for. Then under the Control Panel section, click on Files, then the course ID.

files_library1

Next, click the “Set Up Web Folder” link on the Files Manager page.

web_folder1

Find the “Current Web Address” field, highlight the link in yellow, then click “CTRL+C” on your keyboard to copy the address.

files_library11

Then go back to your Add Network Location window that should still be open, put your cursor in the “Internet or network address” field, click “CTRL+V” to paste the address, then click Next.

files_library12

You will be prompted to enter your UDM Titan Connect username and password credentials to continue with the setup.

files_library13

Then type in a name for the web folder. It’s a good idea to name this folder something that’s easily recognizable to identify the correct course, especially if you plan to create more than one web folder. Then click Next.

files_library14

You’ve successfully set up a Web Folder linking your computer directly to your Blackboard course files. Click “Finish” to view/edit/add/delete the contents of your course.

Note: To access the web folder in the future, there will be a shortcut to this folder listed under “This PC“.

files_library15

Page 1 of 612345...