Deploying a test
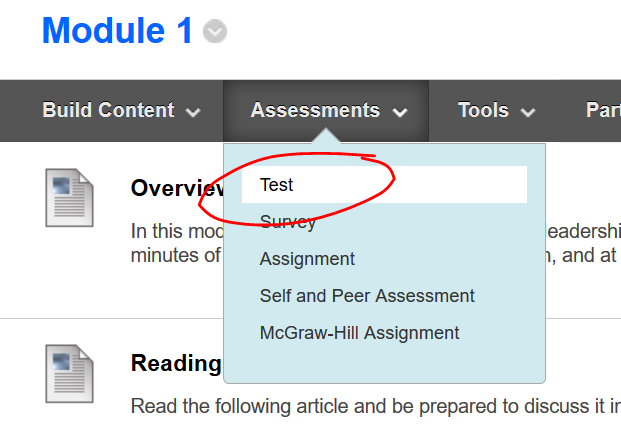
Once you’ve created a test (if you’re not sure how, check out this video walkthrough), you’ll want to add it to a content area in your course so students can take it. To get started, navigate to the content area of your course where you’ll want students to find the test. Then, point to ASSESSMENTS and choose TEST.
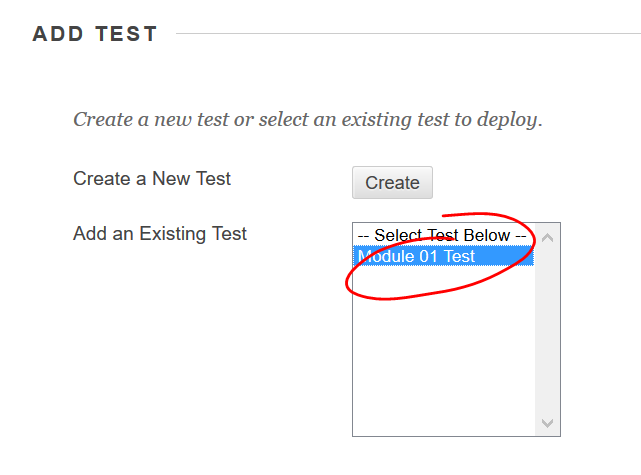
 On the CREATE TEST page, select the test you wish to add from the ADD AN EXISTING TEST list, then click SUBMIT.
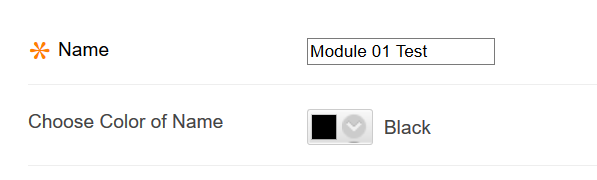
 On the TEST OPTIONS page, the test’s name will be pulled in automatically. If you’d like, you can change how the test’s name appears to students on this page. A name change here will not change the name of the test in the test manager. So, if you have a test in the test manager named 2015 Module 01 Test, the test manager name will be the same even if you take the year off the test on this options page.
You can also use the color picker to change the color of the link students will click to launch the test. If you’re not sure about how to use the color picker, check out this brief walkthrough.
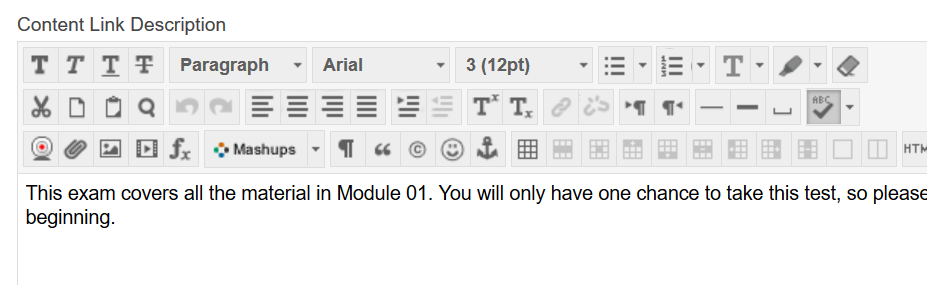
The CONTENT LINK DESCRIPTION box appears next. Students will see this text before launching the test. If you included a description on the test, it will be pulled into this space automatically. You can change any information pulled into this space, or add new information.
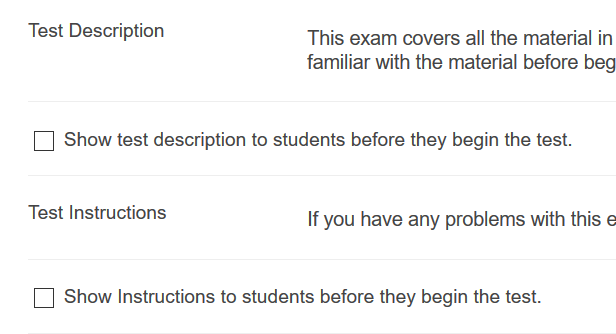
The next couple fields, TEST DESCRIPTION and TEST INSTRUCTIONS, will only appear if you have added a description and / or instructions on the test. The content of these fields can only be edited by going back and making changes on the Test Canvas. Checking their respective boxes will make that content appear after the student has clicked the link to launch the test, but before actually beginning the test. If you do not check these boxes, the information will appear after the student has launched the actual test.
 The last basic option is the choice of whether you want the test to open in a new window or not. We recommend only choosing to have “open book” tests open in a new window.
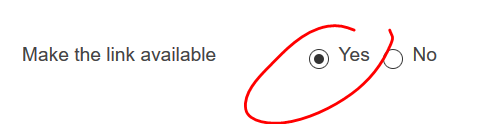
 Next you’ll need to choose whether you want to make the test available. As with other content items, if you want to make the item available at a later date, choose YES here, then specify the DISPLAY AFTER date and time later on this page.
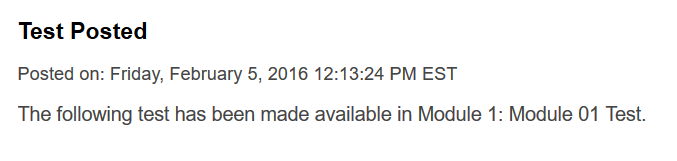
 If you choose to add a new announcement for the test, an announcement will appear when the test becomes available. The text of this automatically generated announcement simply announces that a test was posted and what folder the test was posted to. We recommend editing this announcement to provide greater detail or creating your own announcement.
Announcement text
If you’d like students to be able to submit the test more than once, check the MULTIPLE ATTEMPTS box. When MULTIPLE ATTEMPTS is selected, you may choose to allow the students UNLIMITED ATTEMPTS (the default), or select NUMBER OF ATTEMPTS then enter a number.
If you choose to allow the students multiple attempts, you’ll need to decide how Blackboard should score the test in the Grade Center. The SCORE ATTEMPTS USING pulldown gives you several options to choose from, including most recent (“Last Graded Attempt”) and even an average of all graded attempts. Choose the scoring system that works best for how you want the item scored from the list.
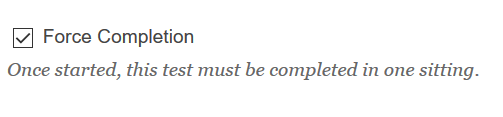
 If you want students to complete the test in a single sitting, check the FORCE COMPLETION box. If you do not check this box, students will be able to close the exam without submitting, then re-open the same attempt and continue to answer questions later.
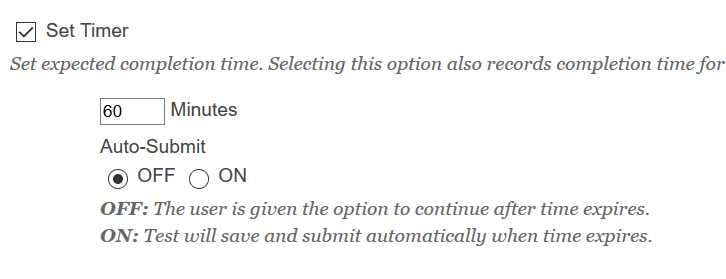
 If you’d like to set a time limit on the test, check the SET TIMER box, then enter the time limit in minutes in the MINUTES box (so if you’d like the timer set for an hour and a half, enter 90 in the MINUTES box). Timed tests have a timer box that stays onscreen the entire time students are taking the test, and an alert box pops up when test takers have one minute remaining. NOTE that if you do not choose force completion, the timer will start running when students launch the exam and stop when students SUBMIT. So if a student launches the exam, closes it, and re-opens and finishes it a day later, the timer will indicate the student has taken over 24 hours on the test.
Next, you must choose whether or not you’d like the exam to auto-submit when time expires. If you go with the default (Auto-Submit turned off), students will be able to continue to take the test after time expires. In the Grade Center, you’ll see an exclamation mark icon instead of a score, indicating the student has gone over the time limit. You will then be able to view the student’s attempt to see how much time they actually took to complete the test. If you are going to use this option, we recommend you make it clear, either in the test description or in the syllabus (or, ideally, both) how you plan to manage exams that run over time. You’ll probably want to indicate a number of points you’ll be taking off based on the amount of time students have gone over the limit (e.g., no points for less than a minute, equivalent of a question off for the first minute, another question off for each additional minute, etc.).
The alternative is to turn Auto-Submit on. If this option is selected, students will be given a one-minute remaining alert. When the time expires, the test will save and submit automatically.
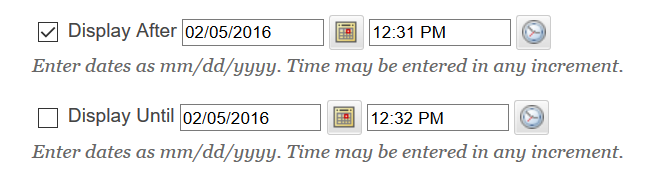
 The DISPLAY AFTER and DISPLAY UNTIL dates on a test work the same as they do on any item. Check the boxes to activate a the date / time limiter in question, then enter the date and time you want the item to appear after and / or until.
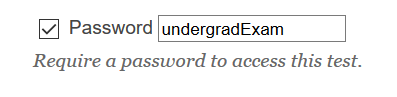
 If you’d like, you can also limit access to the test to only people who have a password which you’ve created. To limit access this way, check the password box, then enter the password you plan to distribute to valid test-takers in the password box.
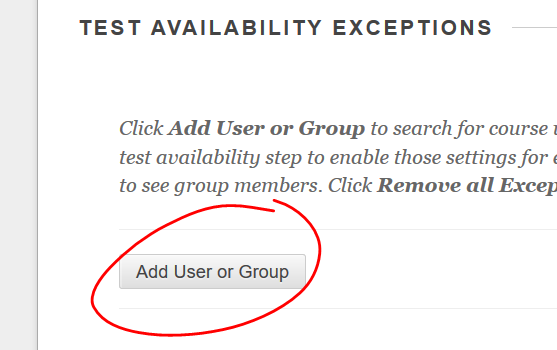
In the past, some faculty have used the password option to make a test available to individuals after the official test-taking period has ended, or, in course sites that include both graduate and undergraduate students, to make sure only the grad students launch the grad exam and only undergrads take the undergrad exam. The Test Availability Exceptions feature makes it easier to manage this sort of situation. Even better, Availability Exceptions make it possible to extend the time limit on an exam to individual students with disabilities.
To set an availability exception, first click the ADD USER OR GROUP button.
 If you’re looking for a specific user or group, use the search box to track them down. You can also browse the whole list of students and groups by leaving the search box set to ANY and NOT BLANK.
 Add use the check boxes on the left of the name of the user or group you wish to add an exception for, then click SUBMIT at the bottom of the pop-up window.
 Enter the options for the exception, including number of attempts, timer, and date range of availability. Remember, if the you’ve selected NO under MAKE THE LINK AVAILABLE, then the availability exceptions will be ignored here as well. If you’d like to remove an availability exception, click the X on the right of the exception.
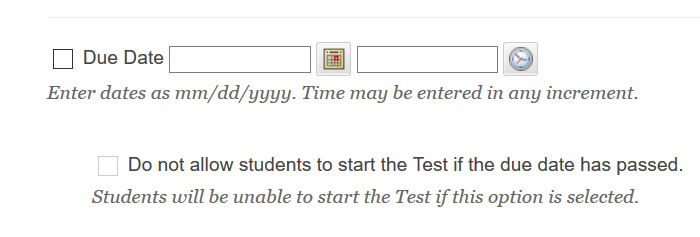
 If you add a Due Date and time, it will appear on the students’ calendar. As the descriptive text for this option indicates, submissions after the due date will be accepted but marked late (this presumes you do not use a “DISPLAY UNTIL” setting to have the test disappear from the content page after the due date). If you select the “DO NOT ALLOW” option, late submissions will be blocked entirely.
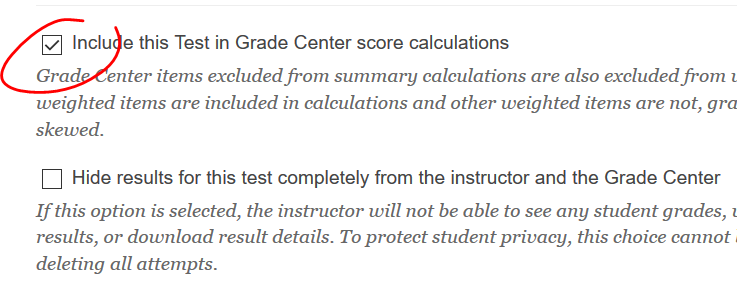
 The defaults under “Self Assessment Options” are what will work best for most tests and quizzes. The default selection, “Include this Test in Grade Center score calculations” means just that — the test will be considered part of the total grade for the class. If this is a practice exam or self-assessment which you do not want to factor in, uncheck this box. The second option is a little more tricky. If you select “HIDE RESULTS COMPLETELY”, then scores for this exam will be hidden from the instructor. Note that if you select this option then unselect it later, Blackboard will delete all student submissions. So only select HIDE RESULTS if you will never want to see the students’s scores for this test.
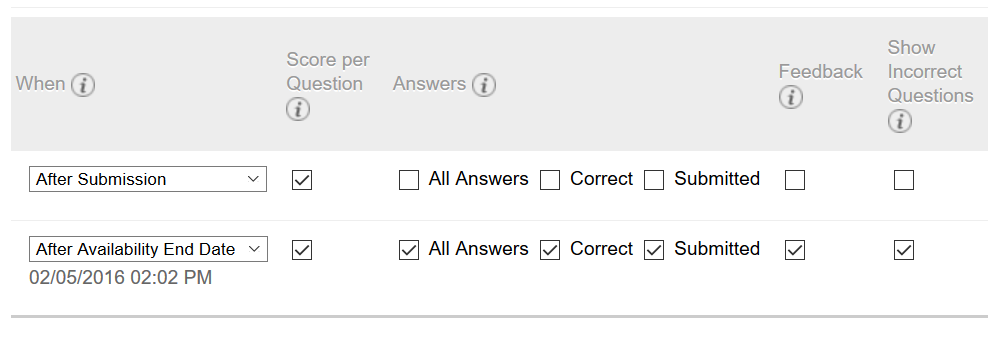
 The SHOW TEST RESULTS AND FEEDBACK TO STUDENTS section determines what feedback students get on the test and when they get it. By default, students will see only their score on the test after submitting (provided the test includes only self-scoring items — if your test includes, for example, an essay question that must be scored manually, students will see “! out of 60″ instead of an actual score). If you’d rather students not see any feedback on submitting their test, uncheck the SCORE PER QUESTION box. on the first line. OR you can select only another time for when feedback is presented from the pulldown list. Note that if the default “AFTER SUBMISSION” is selected on the first line, students can go back to look at their score (and whatever other feedback options you’ve selected on this first line) at any time, via their MY GRADES page entry for the test, or by clicking on the test link again (should it still be available in the course). If you’d like students to only have access to this information once, select ONE-TIME VIEW. But remember, students can always print, screenshot, or even take a photograph of this results page for future reference.
Some faculty like to have students get only minimal feedback on submission, then more detailed feedback after the window for taking the test has closed. If you’d prefer this set up, either set the first line so only minimal feedback is presented and use the second line to have more detailed feedback (such as all answers, the correct answer, the answer the student selected, correct / incorrect feedback, and / or whether the student got a question wrong). Or use the WHEN pulldown on the first line so feedback is only presented later, say when all the tests have a grade, or after the due date.
If some of these options seem redundant (submitted & incorrect questions, say), consider some of the possible permutations. By selecting only CORRECT under answers, the student will see all questions and the right answers, but be shown neither which answers they chose, nor whether they got an answer wrong. On the flip side, you may show which questions they answered incorrectly by checking the last box, but by leaving the answers boxes unchecked the student will only see the question — leaving it up to them to research the correct answer. OR you could show the students the question and their submitted answer, meaning they’ll see which option they picked (correct or incorrect), but not the correct option on questions they answered incorrectly. The feedback system is fairly robust, and you have a lot of options for what you’d like students to see, depending on the type of assessment in question.
 The last section is Test Presentation. Here you can choose whether the students will see all the questions onscreen at one (the default), or only one question at a time. If you choose to show only one question at a time, you can also prevent students from backtracking, which means a student only gets one chance to answer each question. Question-at-a-time tests are a little more secure than All-at-once tests, as it’s a bit more difficult to capture a full exam when only one question is visible at a time. However, this presentation method also makes it difficult for a student to skim through the test, responding to questions they have more confidence in before responding to questions they find more difficult.
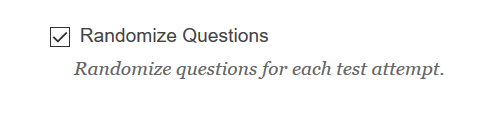
 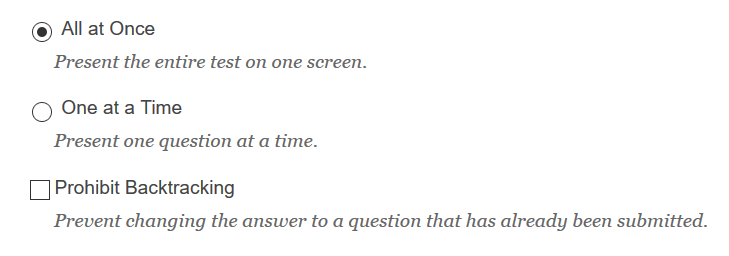 Finally, you have the option to randomize the questions on the test. If you’ve created a test from multiple pools of questions, this will shuffle up the pools, meaning students won’t be working their way through related blocks of questions. We generally recommend randomizing tests unless the structure of the test really requires that the questions be presented in a particular sequence.
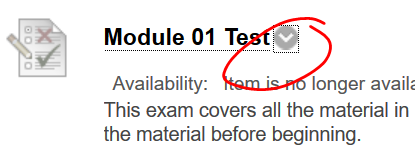
Once you are done, click SUBMIT to save these options. If you need to make any changes to the test’s options, click the options button that appears beside the test’s name when you mouse over it.
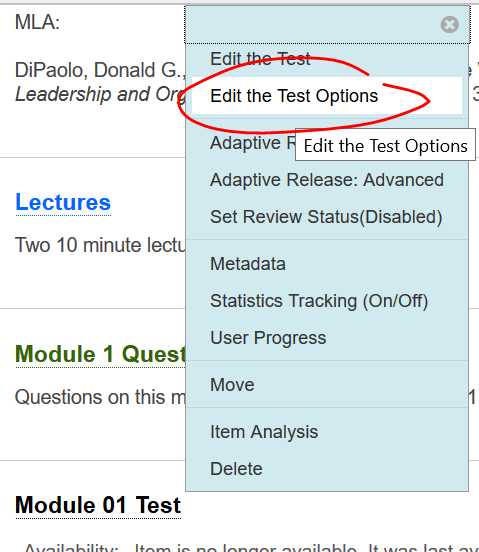
 Then choose EDIT THE TEST OPTIONS
Shortlink for this post: http://ids.commons.udmercy.edu/?p=180

