Adding a File Only
Whether building or maintaining a course site, one of the most common activities is adding files and blocks of text. Depending on the content you’re adding, there are two methods of adding content to a course.
If you want to add multiple files in a group, text, images that may be viewed onscreen, or a single file accompanied by text, you’ll want to use the Add Item tool.
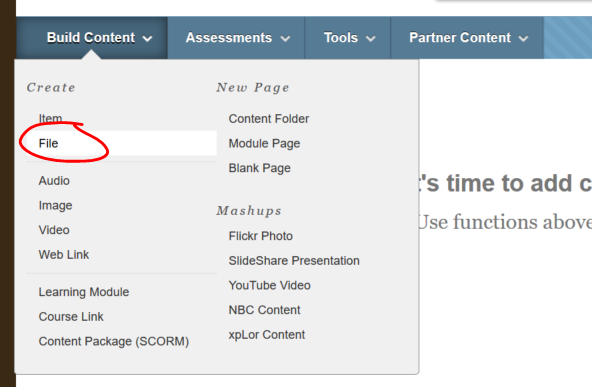
If you only want to add a single file — any kind of file, Powerpoint file, PDF file, Word file, video file, audio file — with no accompanying text, the easiest method is to use the Add File tool. Go into the content space where you’d like to add the file. Then, point to BUILD CONTENT and choose FILE under the CREATE heading.
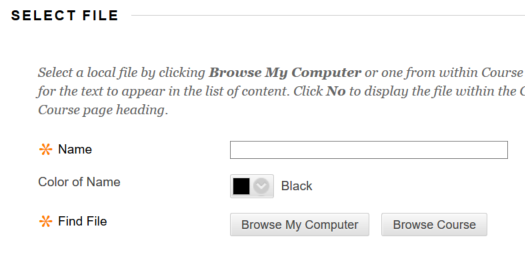
 In the select file space, enter the text you’d like your students to see and click on to access the file. If you’d like to change the color of the file link, click the (default black) color tile, and select a new color. To actually attach the file, click the BROWSE MY COMPUTER button.
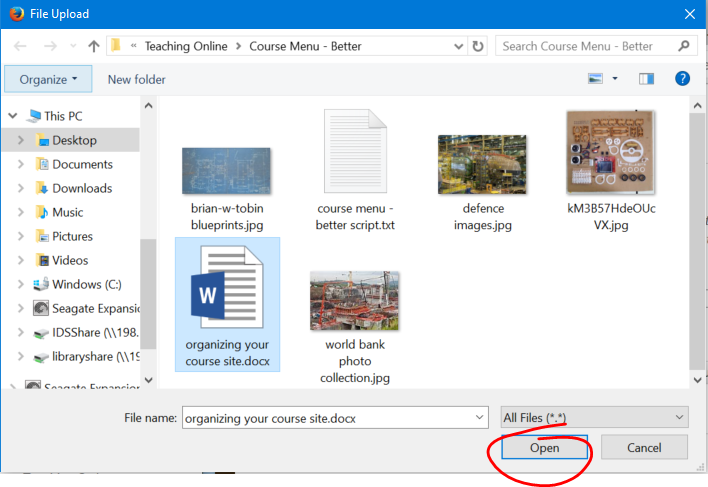
 Locate the file on your computer, then click OPEN to add the file to the page.
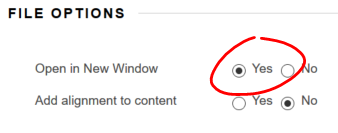
 Under the File Options heading, we recommend setting “Open in a New Window” to YES. You needn’t worry about the “Add alignment” option.
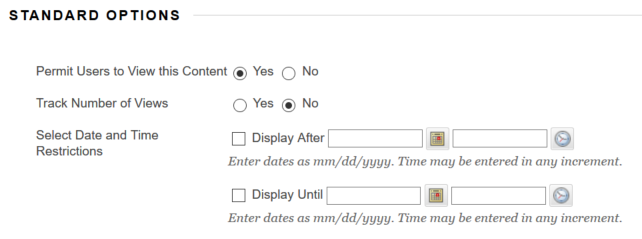
 The Standard Options on the Create / Edit a File page work as they do elsewhere on Blackboard. If you’d like to make the content available to students, whether immediately or at a later date, click select YES on the “Permit Users to View this Content” line.
If you’d like users to view the content at a set time in the future, but not immediately, you should select YES on the “Permit Users to View” line, then check the DISPLAY AFTER box and enter the date and time you want students to have access. You can limit access to a window of time by also checking the DISPLAY UNTIL box and entering a date and time (note, you can make content available from a set time in the future until a set time in the future by setting both AFTER and UNTIL restrictions; you can make content available from the moment you add it until a set date by setting only an UNTIL restriction.
If you’d like to be able to see view statistics for this content (as well as other content items on the page you’re adding it to), select YES on the “Track Number of Views” line.
 Once you’ve set the options as you’d like them, click SUBMIT to add the content or save your changes.
Shortlink for this post: http://ids.commons.udmercy.edu/?p=1285

